
How to Remove Gel Nail Polish at Home (Without Ruining Your Nails)

My nails were chipping. The gel was lifting at the edges. And I had zero plans to drive to a salon.
So I decided to figure it out myself – right at home, with stuff I already had. And honestly? It went better than I expected. If you have been putting off removing your gel polish because you are scared of damaging your nails, this post is for you. I am going to walk you through everything I learned, what actually worked, and what you should never do.
First – Why Gel Polish Is Harder to Remove Than Regular Polish
Regular nail polish comes off in seconds with any remover. Gel polish is a whole different story.
Gel is cured under a UV or LED lamp. That process makes it bond really tightly to the nail surface. So when you try to peel or chip it off, you are not just removing color – you are pulling off layers of your actual nail.
That is why so many people end up with thin, weak, peeling nails after DIY removal gone wrong. The goal is not just to get the polish off. The goal is to get it off safely.
What You Will Need Before You Start
You do not need a ton of stuff. Most of this you probably already have at home.
- Acetone (pure acetone works best – not regular nail polish remover)
- Cotton balls or small cotton pads
- Aluminum foil cut into small squares
- A nail file (100/180 grit works great)
- A wooden stick or orange stick
- A small bowl (optional, for the bowl soak method)
- Cuticle oil or any moisturizing oil – coconut, olive, or almond all work
- Hand cream or lotion
That is it. No fancy tools needed.
Method 1: The Foil Wrap Method (Most Popular)
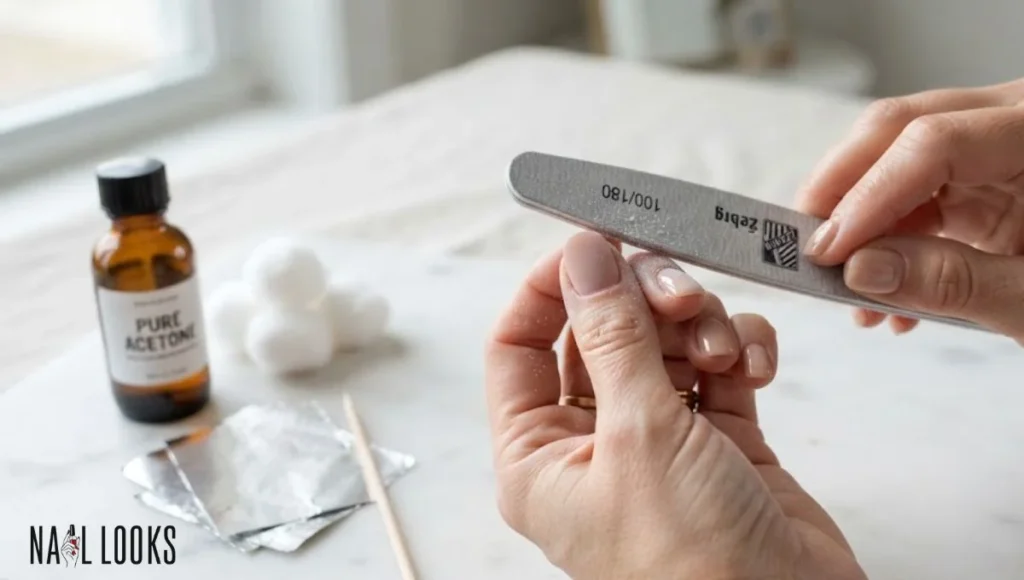
This is the classic way to do acetone gel polish removal at home. It takes about 20 to 30 minutes total, but most of that time you are just sitting and waiting.
Step 1 – File the Top Layer
Take your nail file and gently buff the shiny top coat off each nail. You are not trying to file down to your natural nail – just break the seal on the surface. This helps the acetone get in and do its job faster.
Do this lightly. You do not need to go deep.
Step 2 – Soak Your Cotton
Pour a little acetone on a cotton ball or pad. You want it damp, not dripping.
Step 3 – Wrap Each Nail
Place the soaked cotton directly on top of your nail. Then wrap a small square of aluminum foil around your fingertip to hold the cotton in place.
Repeat this for all ten fingers. Yes, it feels a little awkward. Yes, it is worth it.
Step 4 – Wait 15 to 20 Minutes
This is the hardest part – just sitting still. Watch something on your phone (propped up nearby), listen to music, or chat with someone.
The acetone is working during this time, breaking down the gel bond so it slides off cleanly.
Step 5 – Slide It Off
After 15 to 20 minutes, take off one foil wrap. The gel should look soft, a little wrinkled, and kind of bubbly. Gently press the cotton and slide it off your nail. Most of the gel should come with it.
If there are small bits left, use your wooden stick to gently push them off. Do not scrape hard.
Step 6 – Moisturize Right Away
Acetone dries out your skin and nails. As soon as you are done, wash your hands and apply cuticle oil or lotion generously. This step is not optional – your nails will thank you.
Method 2: The Bowl Soak Method
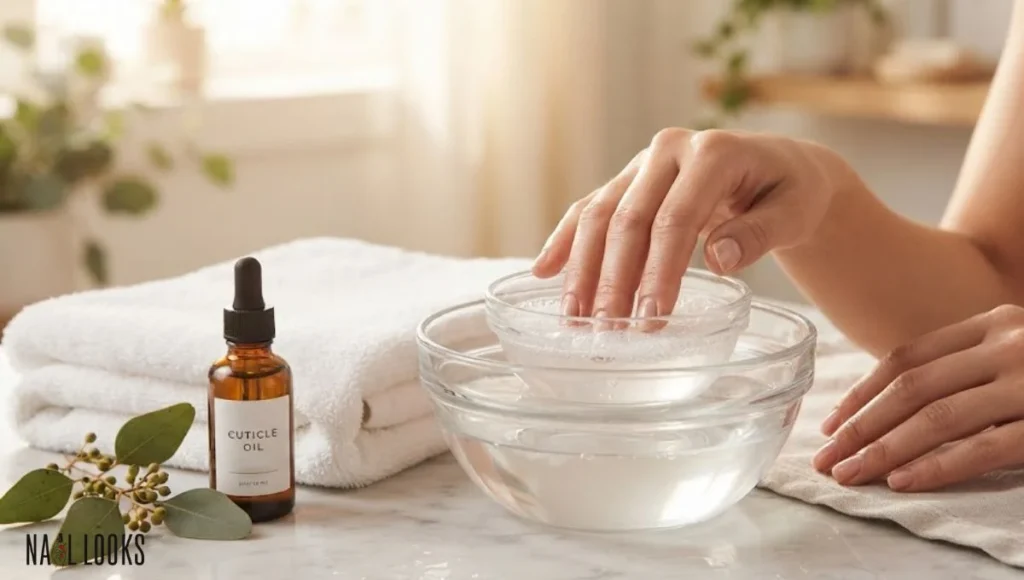
This method is a little faster but uses more acetone. It is good if you are in a hurry.
Fill a small bowl with pure acetone. Rest your fingertips in the bowl for about 10 to 15 minutes. The gel will start to soften and loosen.
One tip: put the acetone bowl inside a larger bowl of warm water. The warmth speeds things up a bit.
After soaking, gently push off the softened gel with your wooden stick.
Note: Do not use a plastic bowl for this. Acetone can melt or damage certain plastics. Glass or ceramic is best.
How to Remove Gel Nail Polish Without Acetone
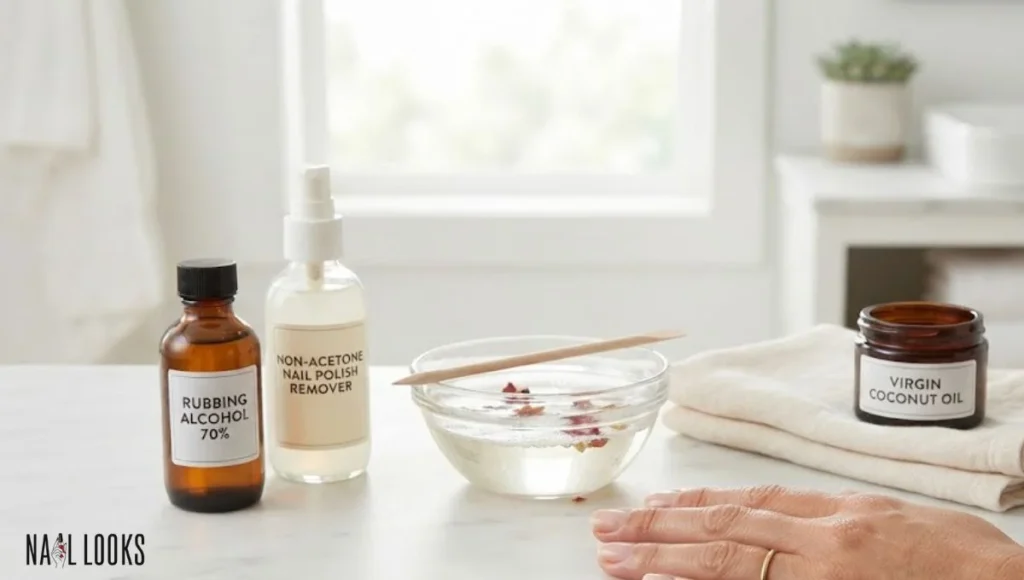
Not everyone wants to use acetone. Maybe you find it too drying. Maybe you do not have any at home. There are a few gentler options worth trying.
Rubbing Alcohol
This is not as strong as acetone, so it takes longer. Soak a cotton ball in rubbing alcohol and press it firmly on your nail. Hold it there for a few minutes and then try to slide the gel off.
You may need to repeat this several times. Be patient. It works best on gel that is already lifting or chipping.
Non-Acetone Nail Polish Remover
This is milder than acetone. Use the same cotton-and-foil method but soak the nails for a longer time – closer to 30 to 40 minutes.
Results are not always perfect, but it is a gentler option if you have sensitive skin or dry nails.
Warm Water and Soap Soak
Honestly, this works best when your gel is already peeling badly on its own. Soak your nails in warm soapy water for 20 minutes, then gently try to ease up the lifting edges with a wooden stick.
It will not remove a fresh, fully sealed gel manicure. But for old, beaten-up gel – it can help.
The One Thing You Should Never Do

Please do not peel or pick your gel off.
I know it is so tempting. Especially when one edge is already lifting, and you just want to get it done. But peeling gel off takes the top layers of your natural nail with it. That is why nails feel thin and papery after picking – you have literally removed part of the nail itself.
It can take weeks or months for nails to recover from that kind of damage. Just take the extra 20 minutes to do it right.
How to Take Off Gel Nail Polish Safely If Your Nails Are Already Thin
If your nails are already damaged – thin, peeling, or fragile – you want to be extra careful.
Use the foil wrap method with pure acetone, but check your nails every 10 minutes instead of waiting the full 20. The gel may come off faster on thinner nails.
After removal, apply a strengthening base coat or nail treatment to help rebuild the nail. Keep them moisturized every day. Give them a break from gel for a few weeks if you can. Short nails are also easier to grow back strong, so do not be afraid to trim them down while they recover.
Tips to Make DIY Gel Nail Removal Easier
Work on one hand at a time. You need one free hand to open things, hold your phone, and generally function. Do the foil wraps on one hand first, remove that gel, then do the other hand.
Keep the room warm. Acetone works better at a slightly warm temperature. Avoid doing this in a cold room – it slows the whole process down.
Use pure acetone, not regular nail polish remover. Regular remover often has added conditioners and oils that actually slow down gel removal. Pure acetone is faster and more effective.
Do not rush the filing step. A lot of people skip or rush the top coat filing. But if you do not break that seal first, the acetone takes much longer to work. Spend a full minute on each nail if needed.
Ventilate the room. Acetone has strong fumes. Open a window or work near a fan. Do not do this in a tiny closed bathroom.
After Removal – How to Take Care of Your Nails

This part matters just as much as the removal itself.
Once all the gel is off, wash your hands well. Then:
- Gently buff the nail surface smooth with a fine buffer
- Apply cuticle oil to the base of each nail and massage it in
- Use a good hand cream all over
- If your nails feel rough or uneven, use a nail strengthener or clear base coat.
Try to give your nails a rest from heavy gel for at least a week if you can. Let them breathe. Keep moisturizing every day. Nails that stay hydrated recover much faster.
How Often Should You Remove and Redo Gel at Home?
Most gel manicures last two to three weeks before they start lifting or chipping at the edges. At that point, it is time to remove and either redo or take a break.
Leaving gel on too long can actually trap moisture underneath, which leads to weak nails or even infections in some cases. So even if your gel still looks okay – if it has been over four weeks- it is time to take it off.
Final Thoughts
Removing gel nail polish at home is totally doable. You do not need a salon. You do not need expensive tools. You just need a little patience, some acetone, and a roll of foil.
The key is to let the acetone do its job – don’t rush, don’t peel, and don’t skip the moisturizing at the end. Follow the steps, take care of your nails afterward, and you will be just fine.
Your nails are tougher than you think. Treat them well, and they will grow back healthy and strong. Now go get that old gel off – and maybe plan your next color while you wait.