Winter Nails Ideas 2026: 15 Trendy Looks + 10 DIY Tools You’ll Love

Winter Has a Way of Making Nails Feel Special
There is something about cold weather that just makes you want your nails to match the season. A cozy shade, a little shimmer, or a fun design that makes you smile every time you look down. Winter 2026 is bringing some really exciting looks – and the best part is you can do most of them at home.
This post covers two things. First, all the big nail trends for winter 2026 that everyone is trying right now. Then, every tool you need to make those looks happen yourself without going to a salon. Let’s get into it.
What Is Trending for Winter Nails 2026
1. Deep Plum and Purple Nails
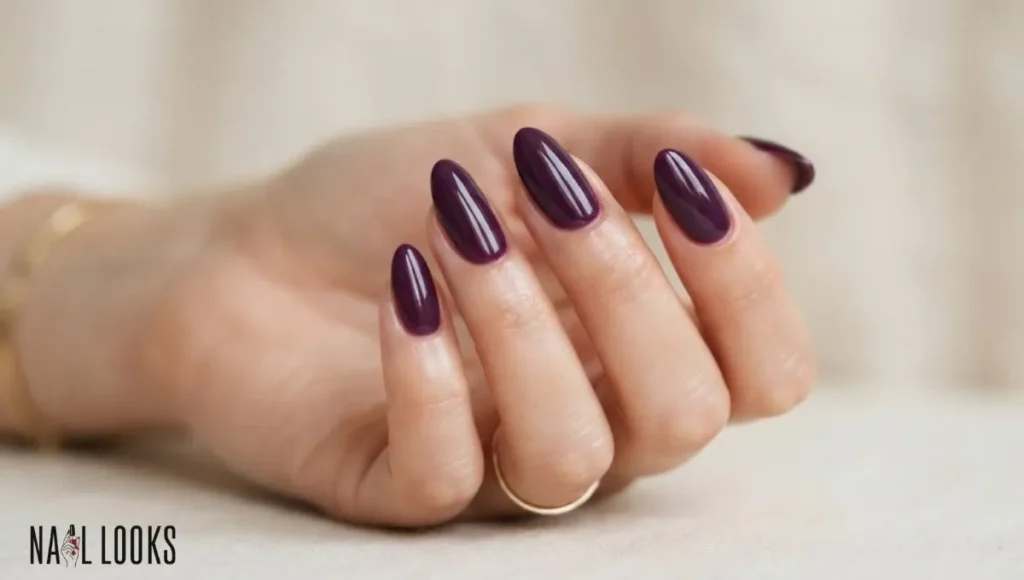
This is the color of the season. Rich, deep plums and purples are expected to reign supreme this winter. It is bold without being too loud. Dark enough for the cold weather but still soft enough for everyday wear. Coffin or almond-shaped nails look really beautiful with this shade. Gel finish makes the color look even deeper and richer.
2. Muted Blues and Grey Tones
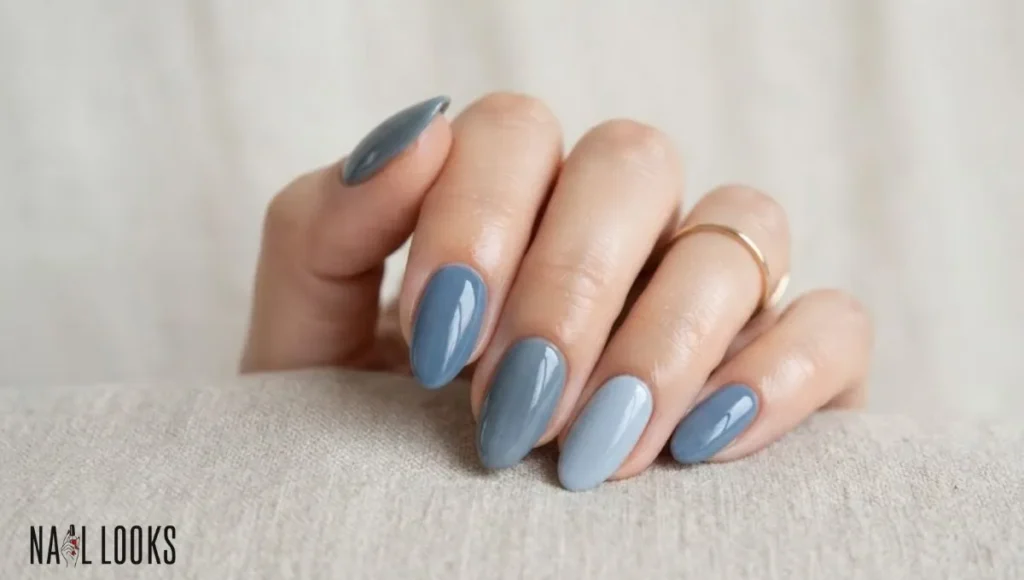
Muted blues are very much in right now. Think slate, dusty denim, and stormy sky tones. They work as unexpected neutrals that feel modern and quietly cool. These are not your bright icy blues. They are softer, more grown-up, and really wearable for every day. Short square nails or medium almond nails both look great here.
3. Frosted Chrome Nails

Chrome nails got a big upgrade this winter. Frosted chrome finishes give nails a delicate sheen that catches winter light without overpowering the overall design. This trend works across all nail lengths and shapes. It looks like your nails have a soft frosty glow – really pretty and very easy to wear. If you want something shiny but not flashy, this is the one.
4. Velvet Cat-Eye Nails

This look is all about texture. Blue velvet nails use magnetic cat-eye nail polish, which gives a chic, fuzzy texture that feels just as cozy and classy as your favorite velvet dress. The color shifts slightly depending on how light hits it. Very deep, very rich, and perfect for cold months. Works really well in dark green, navy, or plum shades.
5. Aura Nails – Winter Version
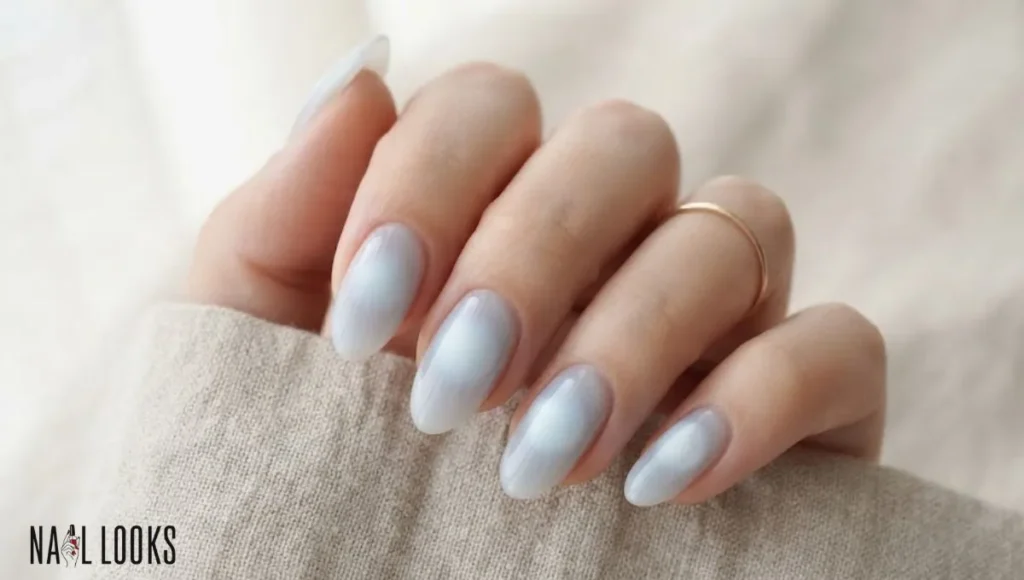
Aura nails were huge in 2025, and they are still going strong. The winter version features diffused color blends that feel like a subtle glowing frost on the nail – soft, cool, and a touch dreamy. They are loved for their minimalism and artistic feel while still looking detailed and custom. If you want something that looks like you put in effort but still feels soft and wearable, Aura Nails are it.
6. Striped Nail Art
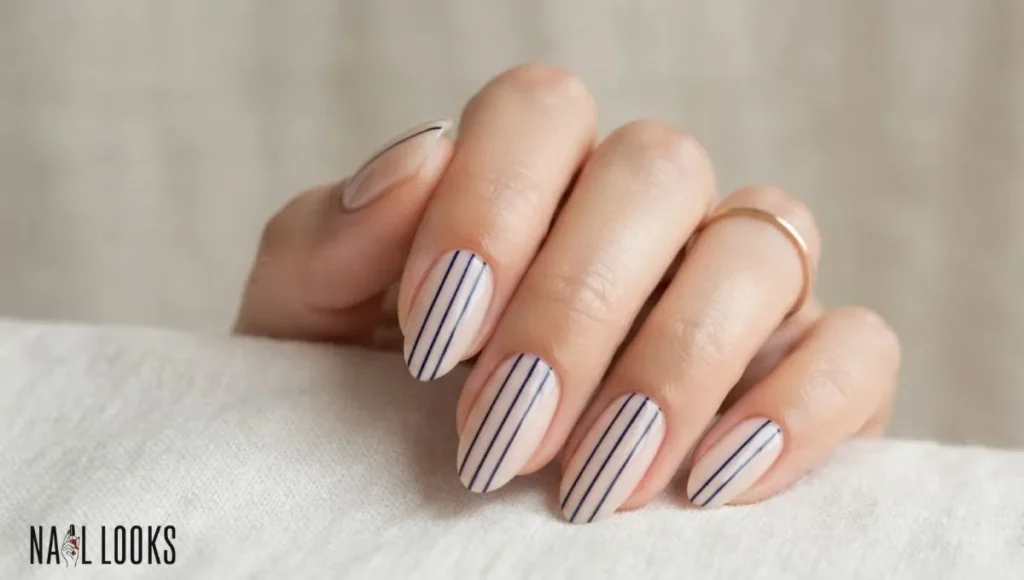
This one is newer and really fresh. Celebrity nail artist Natalie Minerva predicts that striped nails are going to make their way to trending this winter, saying stripes are on par with last year’s big polka-dot moment. Thin vertical stripes on a nude or dark base look super clean. You can do this easily at home with striping tape.
7. Asymmetrical Nail Art

Another trend that is coming up fast. Instead of placing nail art down the center of the nail, asymmetrical designs run down the edge or are tucked into a corner – a fresh take on decoration placement. It sounds simple, but it looks really different and cool. Even one nail done this way on a plain set makes the whole look stand out.
8. Plaid and Gingham Nails
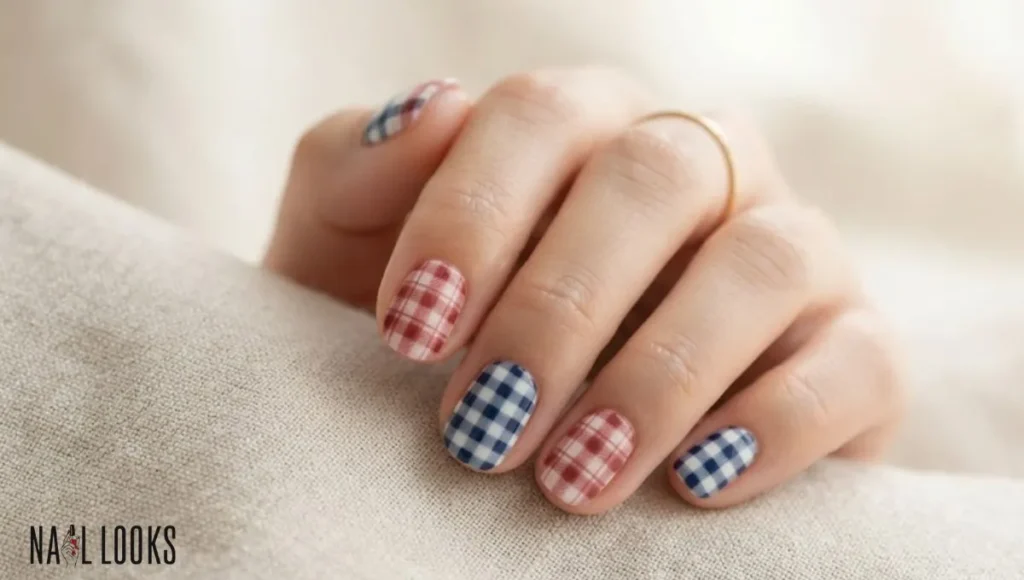
Plaid and gingham nails bring cozy winter wardrobe vibes straight to your fingertips. Think soft red and white plaid or a simple blue gingham pattern on short square nails. It is a fun holiday look that is not too over the top. Very cute for Christmas events or just a cozy weekend look.
9. Glass Ribbed Nails
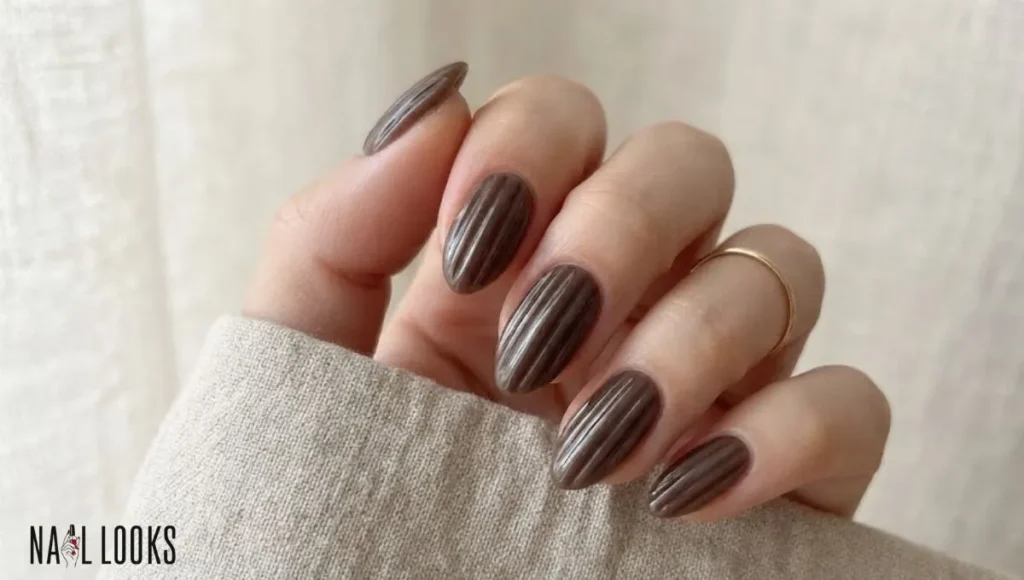
This trend looks so cool and different. Glass ribbed nails are one of the favorite 2026 nail trends, with mocha shades being a top pick for winter. The texture looks like ribbed glass – smooth lines running across the nail with a shiny finish. Really modern and very unique.
10. Minimal Metallic Accents
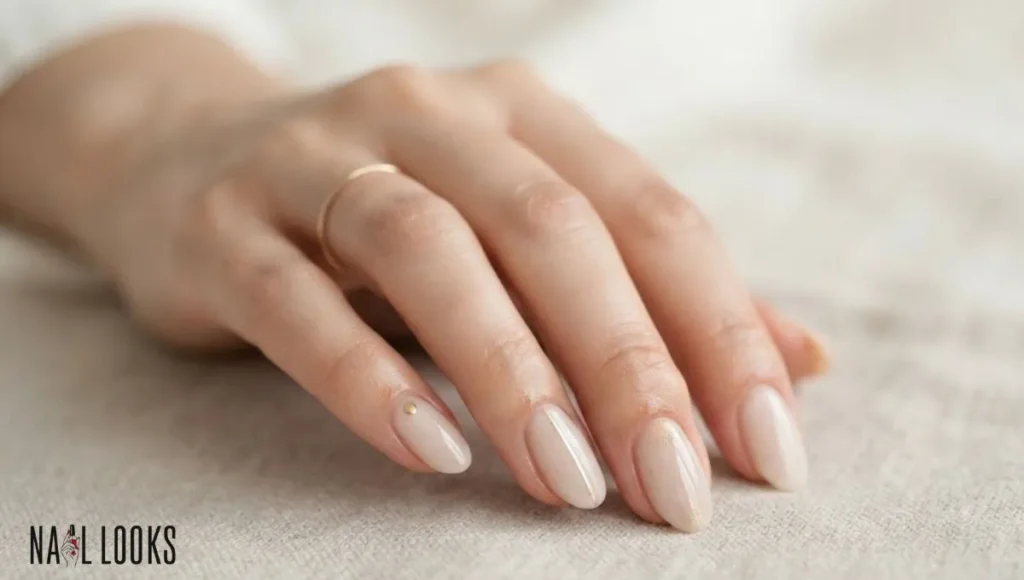
Not everyone wants full nail art. Minimal metallic accents focus on tiny details that take an extra step but elevate an otherwise simple set – a small gold line, a silver dot, or a subtle shimmer on just one nail. This is perfect if you like clean nails but want just a little something extra.
11. Blooming Gel Nails

Blooming gel nails are everywhere right now and have even started another connected trend: croc nails. Plum is a top color choice for this style, creating a funky and very unique pattern. The blooming effect happens when you drop a color into wet gel – it spreads on its own and looks like watercolor art. Very cool and very easy to customize.
12. Snow White Nails with Sparkle

Simple but always a winner. Snow white nails with a little sparkle capture the feeling of winter perfectly – clean, bright, and fresh. A white base with micro glitter on top or a shiny silver top coat looks beautiful. Works on any nail shape and any nail length.
13. Deep Wine Red Nails

Red never leaves for winter, but this year it goes darker. Deep wine tones give the classic red a moody edge – rich, romantic, and slightly mysterious. The color feels grounding, especially as people lean into darker shades during winter that still feel polished and wearable. Great for holiday parties, date nights, or just everyday wear when you want to feel a little bold.
14. Micro Glitter Soft Sparkle

Micro glitter adds dimension without overwhelming the nail. This finish catches light and gives a soft sparkle effect – perfect for romantic and festive winter looks. It is not the chunky glitter from years back. This is fine and subtle. You can layer it over any color, and it just makes everything look a little more special.
15. Coquette Winter Nails

Soft, sweet, and very romantic. Coquette winter nails bring a soft and romantic feel to the season – think bows, light pinks, and delicate details that feel playful but still put-together. Short almond nails in pale pink with a small bow detail on one nail is such a pretty look for winter.
The Must-Have Tools to DIY Winter Nail Art at Home
Now that you know what is trending, here is everything you need to do these looks yourself. You do not need a lot. Just the right things.
Tool 1 – Nail Art Brush Set
This is the most important tool you can own. For winter nail ideas that feature any sort of nail art, you need something more technical than a classic nail polish brush. A good set includes multiple different brushes plus dotting tools for a professional look – perfect for everything from a simple French tip to a winter wonderland themed design.
A thin liner brush helps with snowflakes, stripes, and small details. A flat brush works great for gradient effects. A round brush is good for dots and flower shapes. One kit gives you all of these in one place.
Tool 2 – Dotting Tool
Dotting tools are a beginner’s best friend. Dip the tool into polish and press gently onto your nail to create dots of different sizes. They make it easy to experiment with patterns and add detail without requiring advanced skills.
You can use them for snowflake centers, dot patterns, tiny flowers, or polka dot accents. And if you do not have one yet, a bobby pin tip or toothpick works perfectly as a substitute.
Tool 3 – Nail Sponge
If you love ombre nail ideas, a nail sponge is the secret tool. It helps you blend polish to create that hazy ombre effect.
Apply two colors side by side on the sponge and dab it lightly onto your nail. Blend where they meet. It takes a few tries, but once you get it, ombre nails at home become really easy. A clean makeup sponge cut into a small piece works just as well as a store-bought nail sponge.
Tool 4 – Chrome or Holographic Powder
Chromatic nail ideas are trending this winter, and chrome powder is the secret to recreating the look at home.
You rub a tiny amount of the powder over cured gel using an eyeshadow applicator, and it gives that frosted chrome finish everyone loves. It is honestly one of the easiest ways to get a salon-level finish yourself. Silver powder gives the icy look. Gold gives a warm holiday shine.
Tool 5 – Striping Tape
This is your best friend for clean lines. Place the tape on your nail in your desired pattern, paint over it, and remove the tape carefully while the polish is still wet to get sharp, precise lines without needing a steady hand.
Use it for striped nail art, geometric shapes, half-moon tips, or any design that needs a clean edge. Regular sticky notes or Scotch tape work just as well if you do not have striping tape yet.
Tool 6 – Nail Art Pen
Nail art pens look like regular pens, but they have nail polish inside. You can draw directly on your nail. Great for writing words, drawing snowflakes, adding thin lines, or doing tiny details without a brush. If you are a beginner, this is honestly one of the easiest tools to start with. White and black are the most useful colors to have.
Tool 7 – Base Coat and Top Coat
These two are not exciting, but they are everything. A base coat protects your nails from staining, smooths out imperfections, and gives the polish something to stick to. A top coat seals your design, adds a glossy or matte finish, and helps prevent chipping.
Skip these, and your nail art will chip fast, no matter how good it looks. Use a matte top coat if you want that velvety look that is so popular this winter. Use a glossy one for the shiny chrome or glass finish.
Tool 8 – Nail File and Buffer
Good nail art starts with a smooth, clean nail. A fine-grit file shapes your nails cleanly, whether you prefer square, oval, or almond. A buffer creates a smooth surface that helps polish go on evenly without streaks.
File in one direction only – back-and-forth filing can weaken the nail over time. Buffer gently – you just want to smooth out any ridges, not thin the nail down.
Tool 9 – Cleanup Brush with Acetone
This one changes everything. Dip a thin, angled brush in acetone and clean up any polish that went outside the nail. It makes your DIY nails look really neat and professional. You can use a thin eyeliner brush or a small paintbrush as a substitute.
Tool 10 – UV or LED Lamp (For Gel Polish)
If you want your winter nails to last two to three weeks without chipping, gel polish and a small LED lamp is the way to go. In 2026, tools are more beginner-friendly than ever, and gel at home is completely doable without salon experience.
Small LED lamps are affordable now and easy to use. Apply gel polish in thin layers, cure each layer under the lamp for 30 to 60 seconds, and finish with a gel top coat. The result lasts much longer than regular polish.
Quick DIY Tips Before You Start
Paint in thin layers. Thick polish takes forever to dry and looks uneven. Two thin coats look much better than one thick one.
Always let each layer dry fully before adding the next. Rushing this is the number one reason nail art gets messy.
Keep a small piece of tape nearby while you work. It is faster than searching for tools when your hands are wet with polish.
Clean your tools after each use. A bit of acetone on a cotton ball wipes brushes clean in seconds.
Work near a window or good light. You will see details much better and make fewer mistakes.
Your Next Nail Idea
Winter 2026 is giving so many good options. Deep plums, icy chromes, soft aura blends, striped art, blooming gel – there really is something for every mood and every style. And the best part is you do not need a salon to get any of these looks. The right tools, a little patience, and you can do all of it at home.
Pick one trend that excites you. Grab the one or two tools you need for it. Start simple. Get comfortable. Then try something more detailed next time.
Your nails are the easiest thing to change – and sometimes a fresh winter look is all you need to feel like yourself again.