Eye Catching Easter Nails: 12 Cute & Festive Ideas You’ll Love
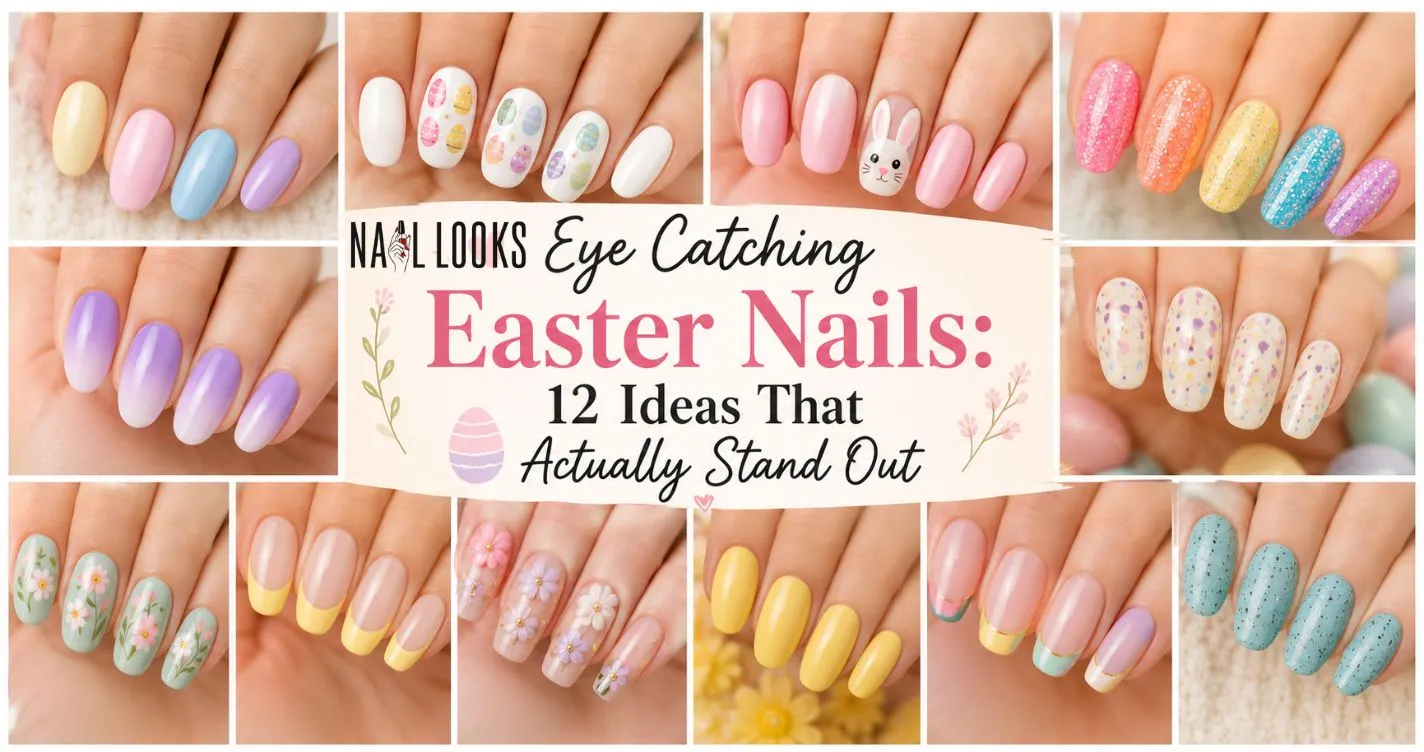
Easter has this way of making everything feel bright again. The colours come back, the mood lifts, and suddenly you want your whole look to match that feeling – including your nails. There is something about this holiday that just calls for something pretty and a little extra on your fingertips.
This post has 12 Eye Catching Easter nail ideas that are colourful, fun, and actually worth trying. Some are soft and pastel. Some are bold and detailed. A few have little Easter touches like bunnies and eggs that make them feel really special for the season. Whatever your style is, there is something here that will feel right. Let’s get into it.
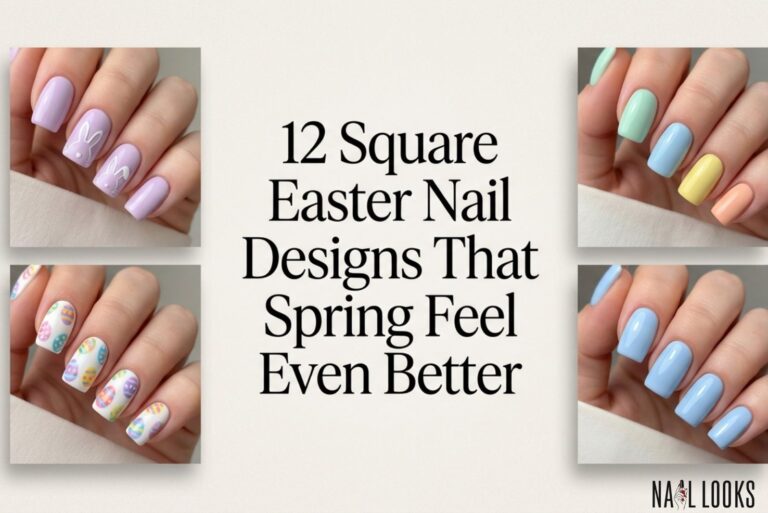
1. Pastel Easter Egg Nails
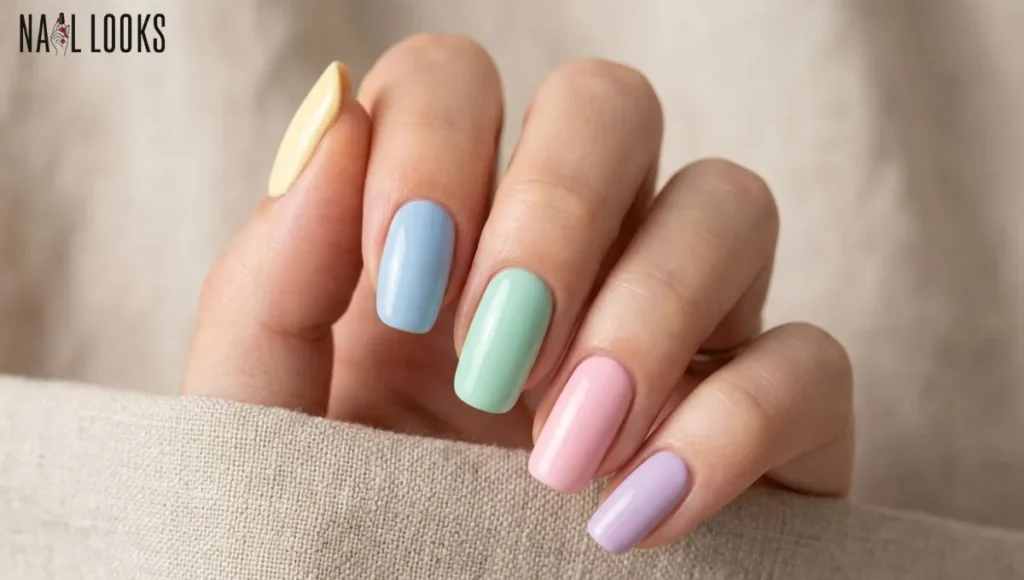
Each nail gets painted a different soft colour – pale yellow, light pink, soft blue, mint green, and lilac. Together, they look like a little basket of Easter eggs in your hand. It is cheerful without being too much. Short or medium nails work really well with this look. No nail art needed – just five different pastel shades, and you are done. Great for Easter Sunday with family or a spring brunch with friends.
2. White Nails with Tiny Painted Eggs

A clean white base on every nail. Then one or two accent nails get small colourful Easter egg designs – little oval shapes with stripes or dots on them in pink, yellow, and blue. The white keeps everything looking fresh, and the tiny eggs add just the right amount of holiday fun. Almond shape looks really lovely here. Use a thin brush or a toothpick at home to draw the simple egg shapes. They do not need to be perfect to look cute.
3. Bunny Accent Nail
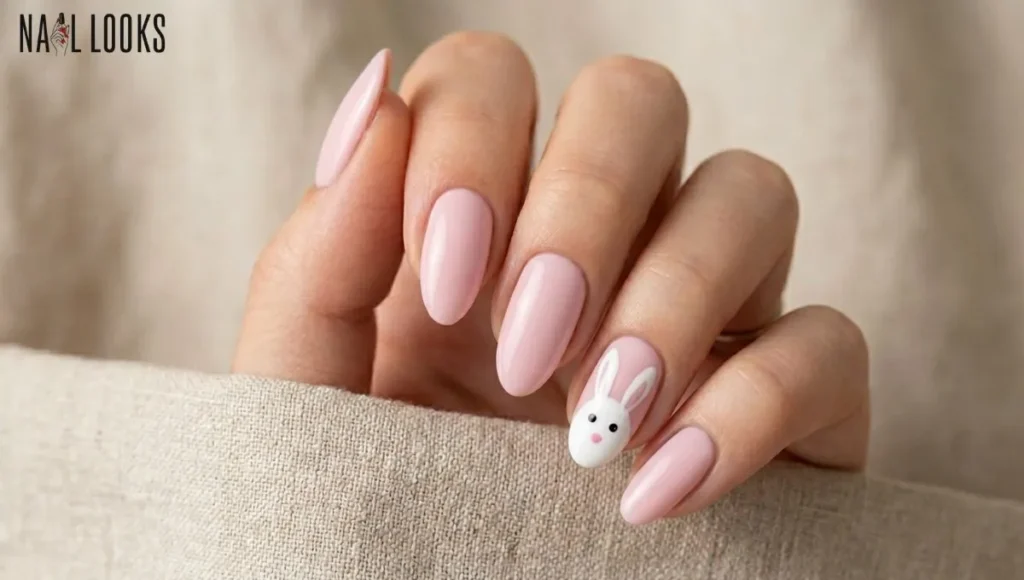
Soft pink nails across the board – then one nail gets a small white bunny face painted on it. Two little ears, two tiny eyes, a small nose. That is it. Simple but so sweet. Short nails make this look extra adorable. The rest of the nails stay plain pink, so the bunny nail really stands out. This is one of those designs that makes people stop and look twice.
4. Colourful Easter Nails with Glitter

This one brings the party energy. Each nail is a different bright colour – hot pink, orange, yellow, green, blue – and each one has a coat of fine glitter on top. It looks like a confetti celebration on your fingers. Medium-length coffin nails really show this off. It is bold, happy, and honestly so much fun for Easter weekend. If you love nails that get noticed – this is the one.
5. Lavender Ombre
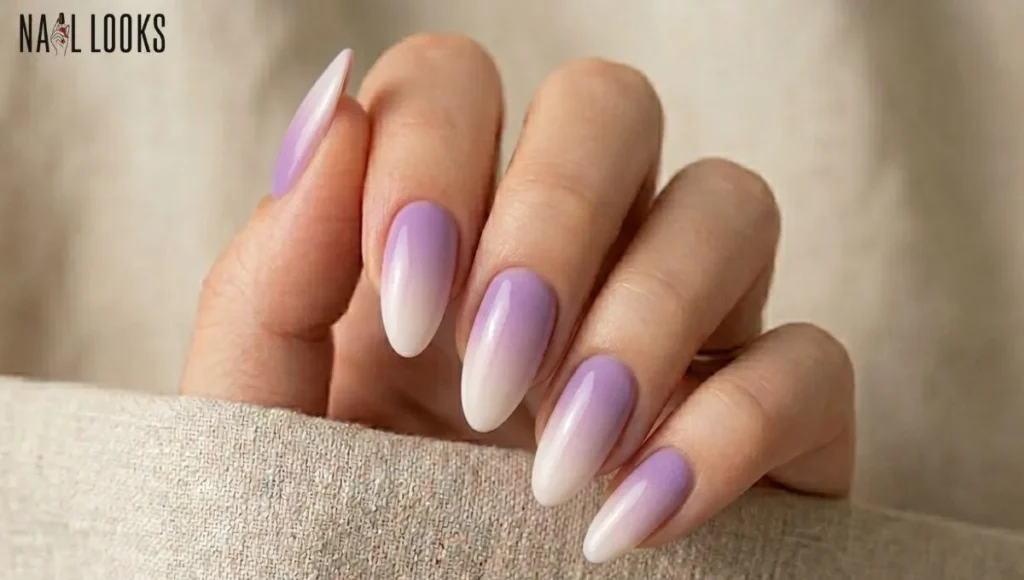
A soft gradient that goes from a pale white or cream at the base all the way to a warm lavender near the tip. It looks dreamy and very spring-like without screaming Easter too loudly. Almond or oval nails carry this gradient beautifully. This is a great option if you want something seasonal but still wearable after the holiday. A small makeup sponge at home blends the two colours together easily – just dab gently and repeat until the blend looks smooth.
6. Speckled Easter Egg Nails
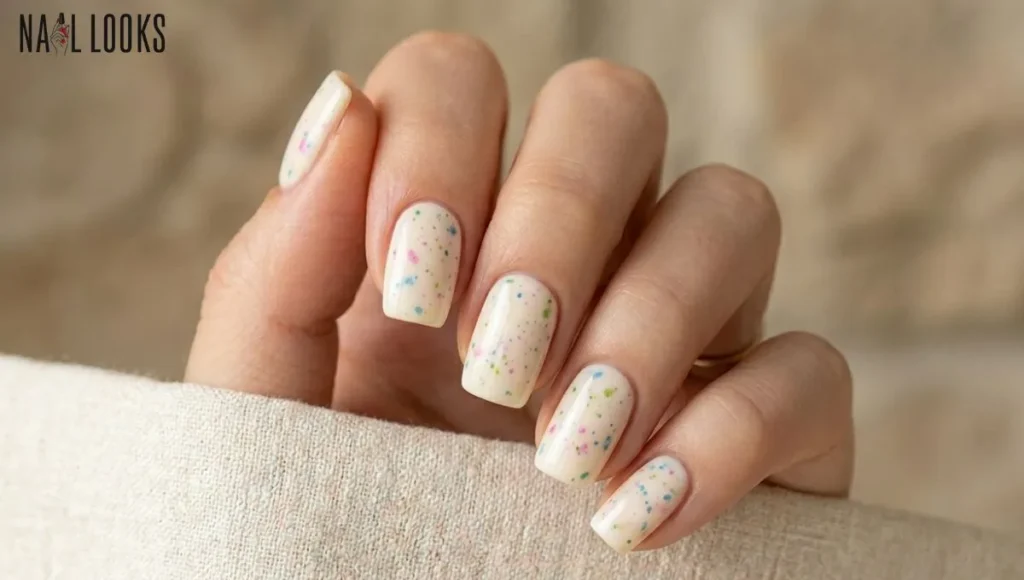
A cream or beige base with small coloured speckles scattered across each nail – like a real Easter egg. The speckles can be pink, blue, green, and yellow. It looks natural and a little artistic. Short square nails look really clean with this. At home, you can flick a thin brush dipped in colour across the nail to get that scattered speckle effect. It is easier than it looks, and the result is always unique because no two nails come out the same.
7. Spring Floral Nails
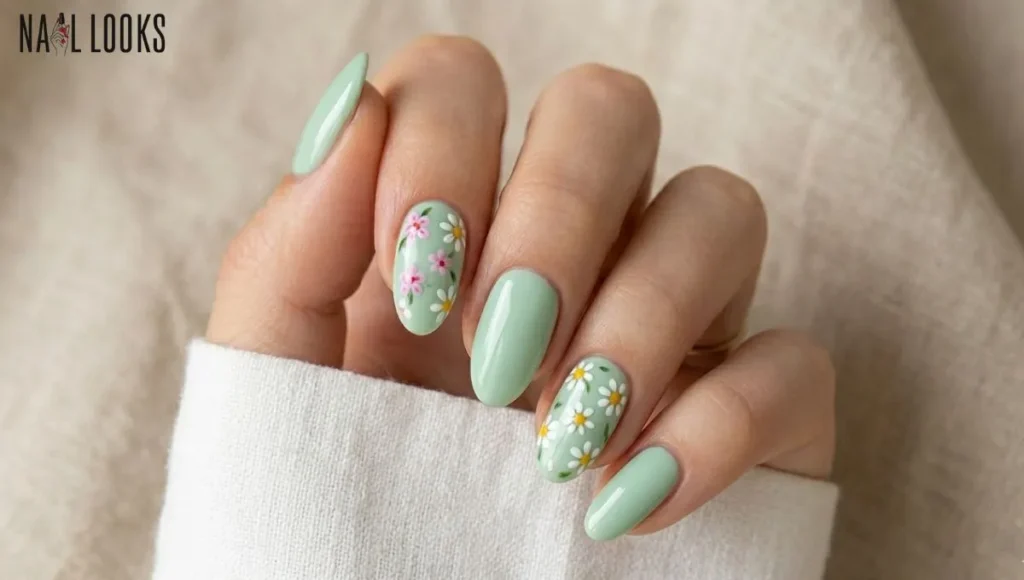
Soft green nails with tiny flowers painted on two accent nails. The flowers can be small white daisies or little pink blossoms with yellow centers. The green base makes the flowers pop in the most natural way. Medium almond nails look really pretty here. This design feels more like a spring garden than a holiday look, which actually makes it wearable past Easter too. Very soft, very pretty, very easy to love.
8. Yellow and White French Tips

A classic French nail – but the tips are done in a bright, cheerful yellow instead of white. The base stays nude or soft cream. The yellow tips bring in that Easter sunshine energy without going full bold. Any nail length looks nice with this. Short nails keep it minimal and cute. Longer nails make the yellow tip feel more dramatic. Either way, it is a fresh take on a look most people already know and love.
9. Easter Acrylic Nails with 3D Flowers
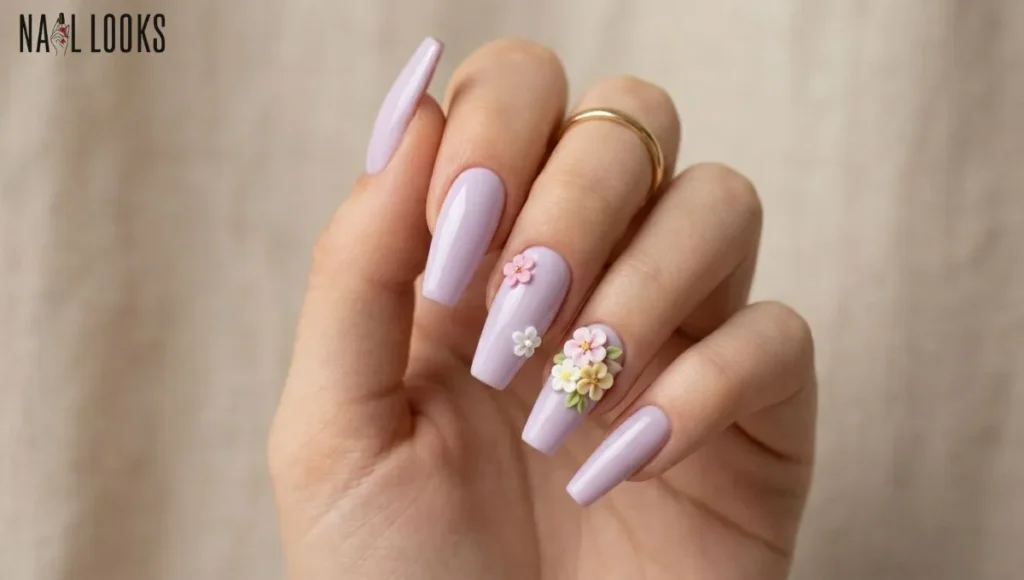
Long coffin acrylics in a soft pink or lilac base – with small raised flower decorations on one or two nails. The flowers sit slightly on top of the nail and give the whole set a real wow factor. This is one of those eye-catching Easter nail looks that feels really special and put together. The 3D flowers can be bought as press-on nail decorations and placed at home using nail glue. No special skills needed – just press and hold for a few seconds.
10. Chick Yellow Nails
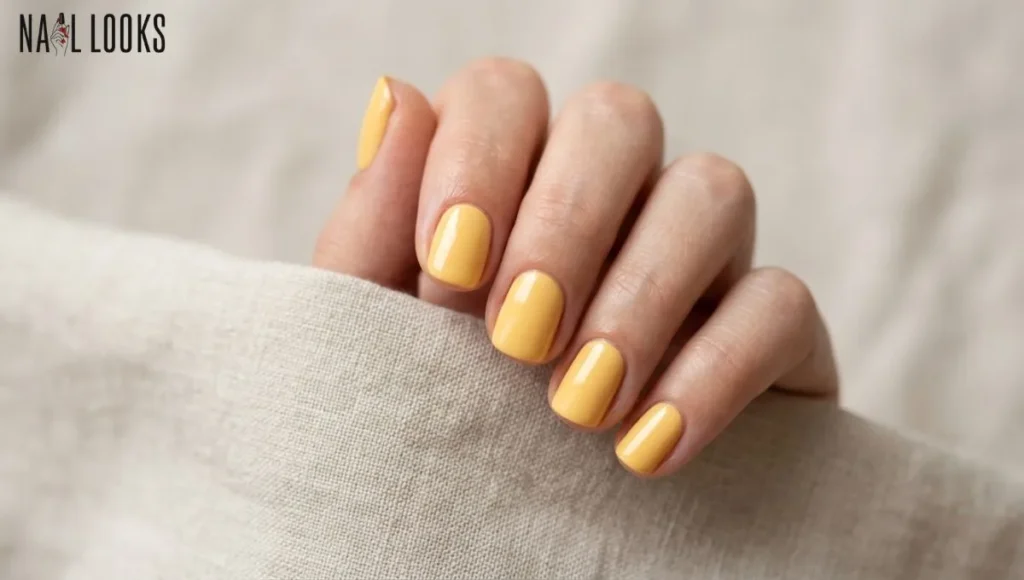
All nails painted in a warm sunny yellow – the exact shade of a baby chick. No nail art, no detail, just that pure happy yellow colour doing all the work. It sounds simple, and it is, but it looks so fresh and seasonal. Short nails look especially cute with this. Pair it with a white or pastel outfit, and the nails tie the whole spring look together without even trying.
11. Blue Robin Egg Nails

A cool speckled blue-green – the exact colour of a robin’s egg. It is such a unique Easter nail colour that most people have not seen before. Matte finish on this shade looks really special. Medium oval or almond nails are perfect for this look. It is calm and pretty and a little unexpected. If you want something seasonal but different from the usual pink and lavender, this is the one to try.
12. Rainbow Pastel Tips with Gold Line
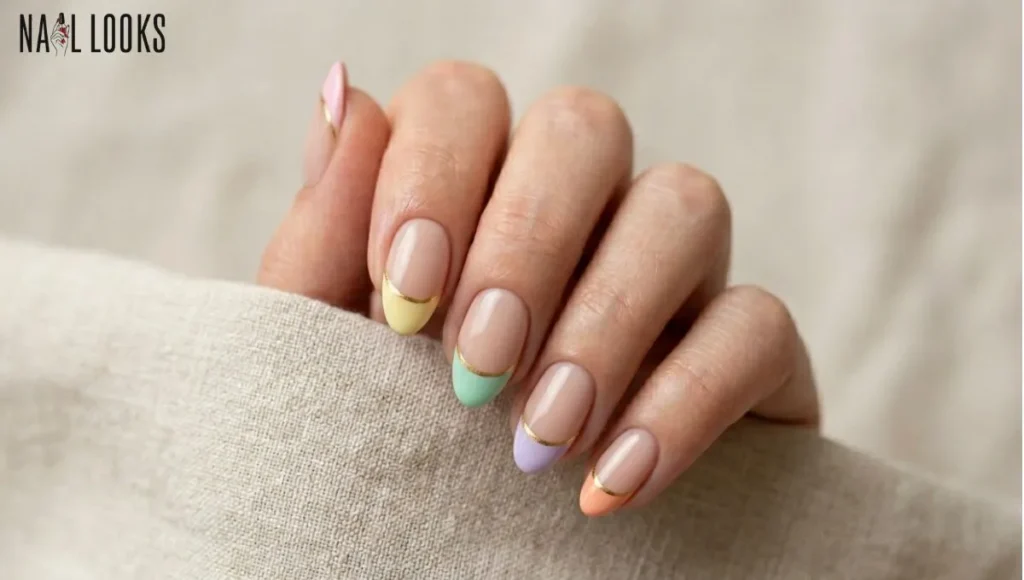
A nude or white base on all nails. Then each tip gets painted a different pastel colour – pink, yellow, mint, lavender, peach – with a thin gold line separating the tip from the base. It is like a pastel French manicure set but with more colour and a little extra detail. Medium-length nails look the most polished with this. The gold line can be done with a thin nail brush or a nail art pen from any beauty store. Elegant and festive at the same time.
Quick Tips Before You Paint
Before you sit down with your polish, a few small things can make a big difference in how your nails turn out.
Always start with a base coat. It protects your nails and helps the colour go on more evenly. Even a clear base coat is better than nothing.
Keep your nail shapes consistent before you start. If some nails are longer than others or the edges are uneven, the whole set will look off, no matter how good the design is. A quick file before painting takes two minutes and makes everything look cleaner.
Thin coats work better than thick ones. Two thin coats of colour always look better than one heavy coat. Thick coats take longer to dry and are more likely to smudge or bubble.
Let each coat dry fully before adding the next one. Rushing this step is the number one reason home nail designs go wrong. If you are impatient, a quick-dry top coat after each layer helps a lot.
For any nail art detail work – a toothpick, a bobby pin, or a thin eyeliner brush from your makeup bag all work as substitutes for a nail art brush. You do not need fancy tools to get a good result.
And finally – seal everything with a top coat when you are done. It makes the colour last longer, adds shine, and protects all the detail work you just put in.
Last Beauty Note
Easter nails are one of those small joys that make the holiday feel a little more special. Whether you went for soft pastels, bold colours, a little bunny, or a full rainbow set – the point is that you made it yours. These designs are not about being perfect. They are about having fun with colour during one of the prettiest times of the year. Try something new this Easter and see how much a fresh set of nails can lift the whole day.